Homemade Pepperoni Rolls
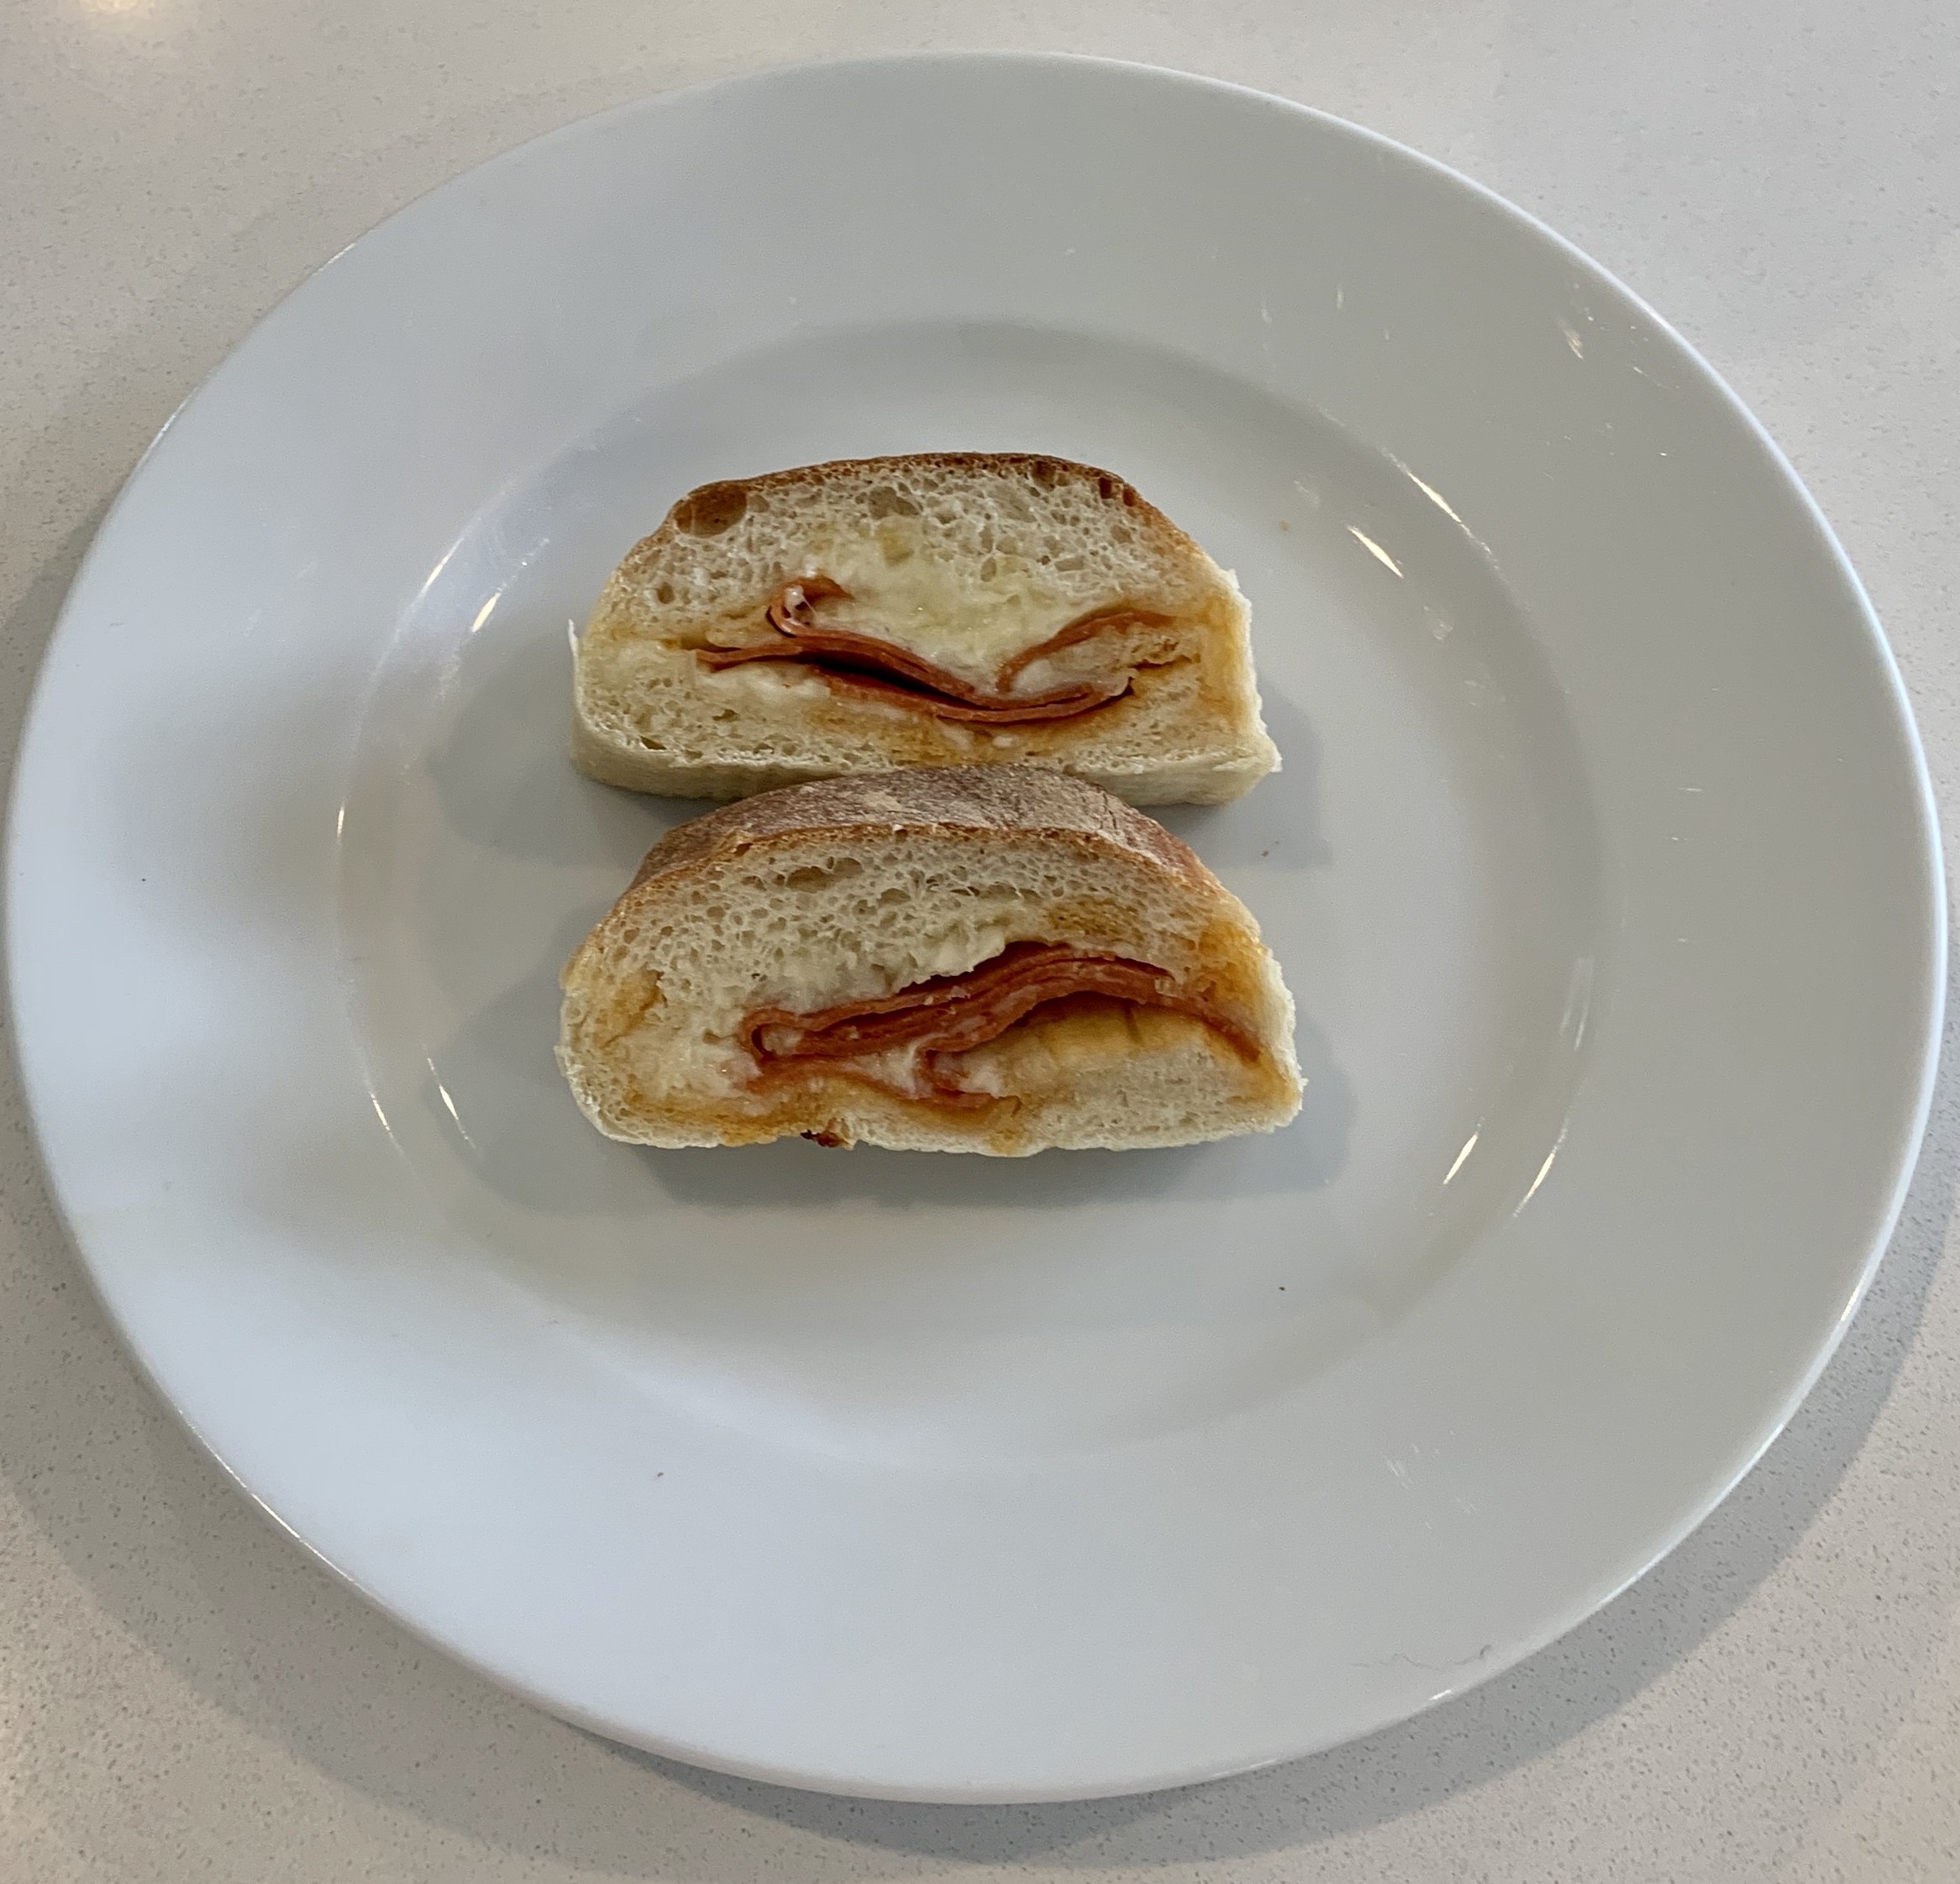
So, a few weeks ago I posted my homemade baguette recipe and I have been playing around with it ever since...I am thrilled with how these pepperoni rolls have turned out! The texture is baguette-like, but filled with delicious cheese and pepperoni. It is a meal all snugged up in bread, yummy.


This recipe makes three large pepperoni rolls, it is best to use a baguette pan when baking to get that crispy texture. I have included a link for a baguette pan below. (affiliate) I like to use Boar's Head Pepperoni slices and good mozzarella cheese, along with some Locatelli Parmesan.
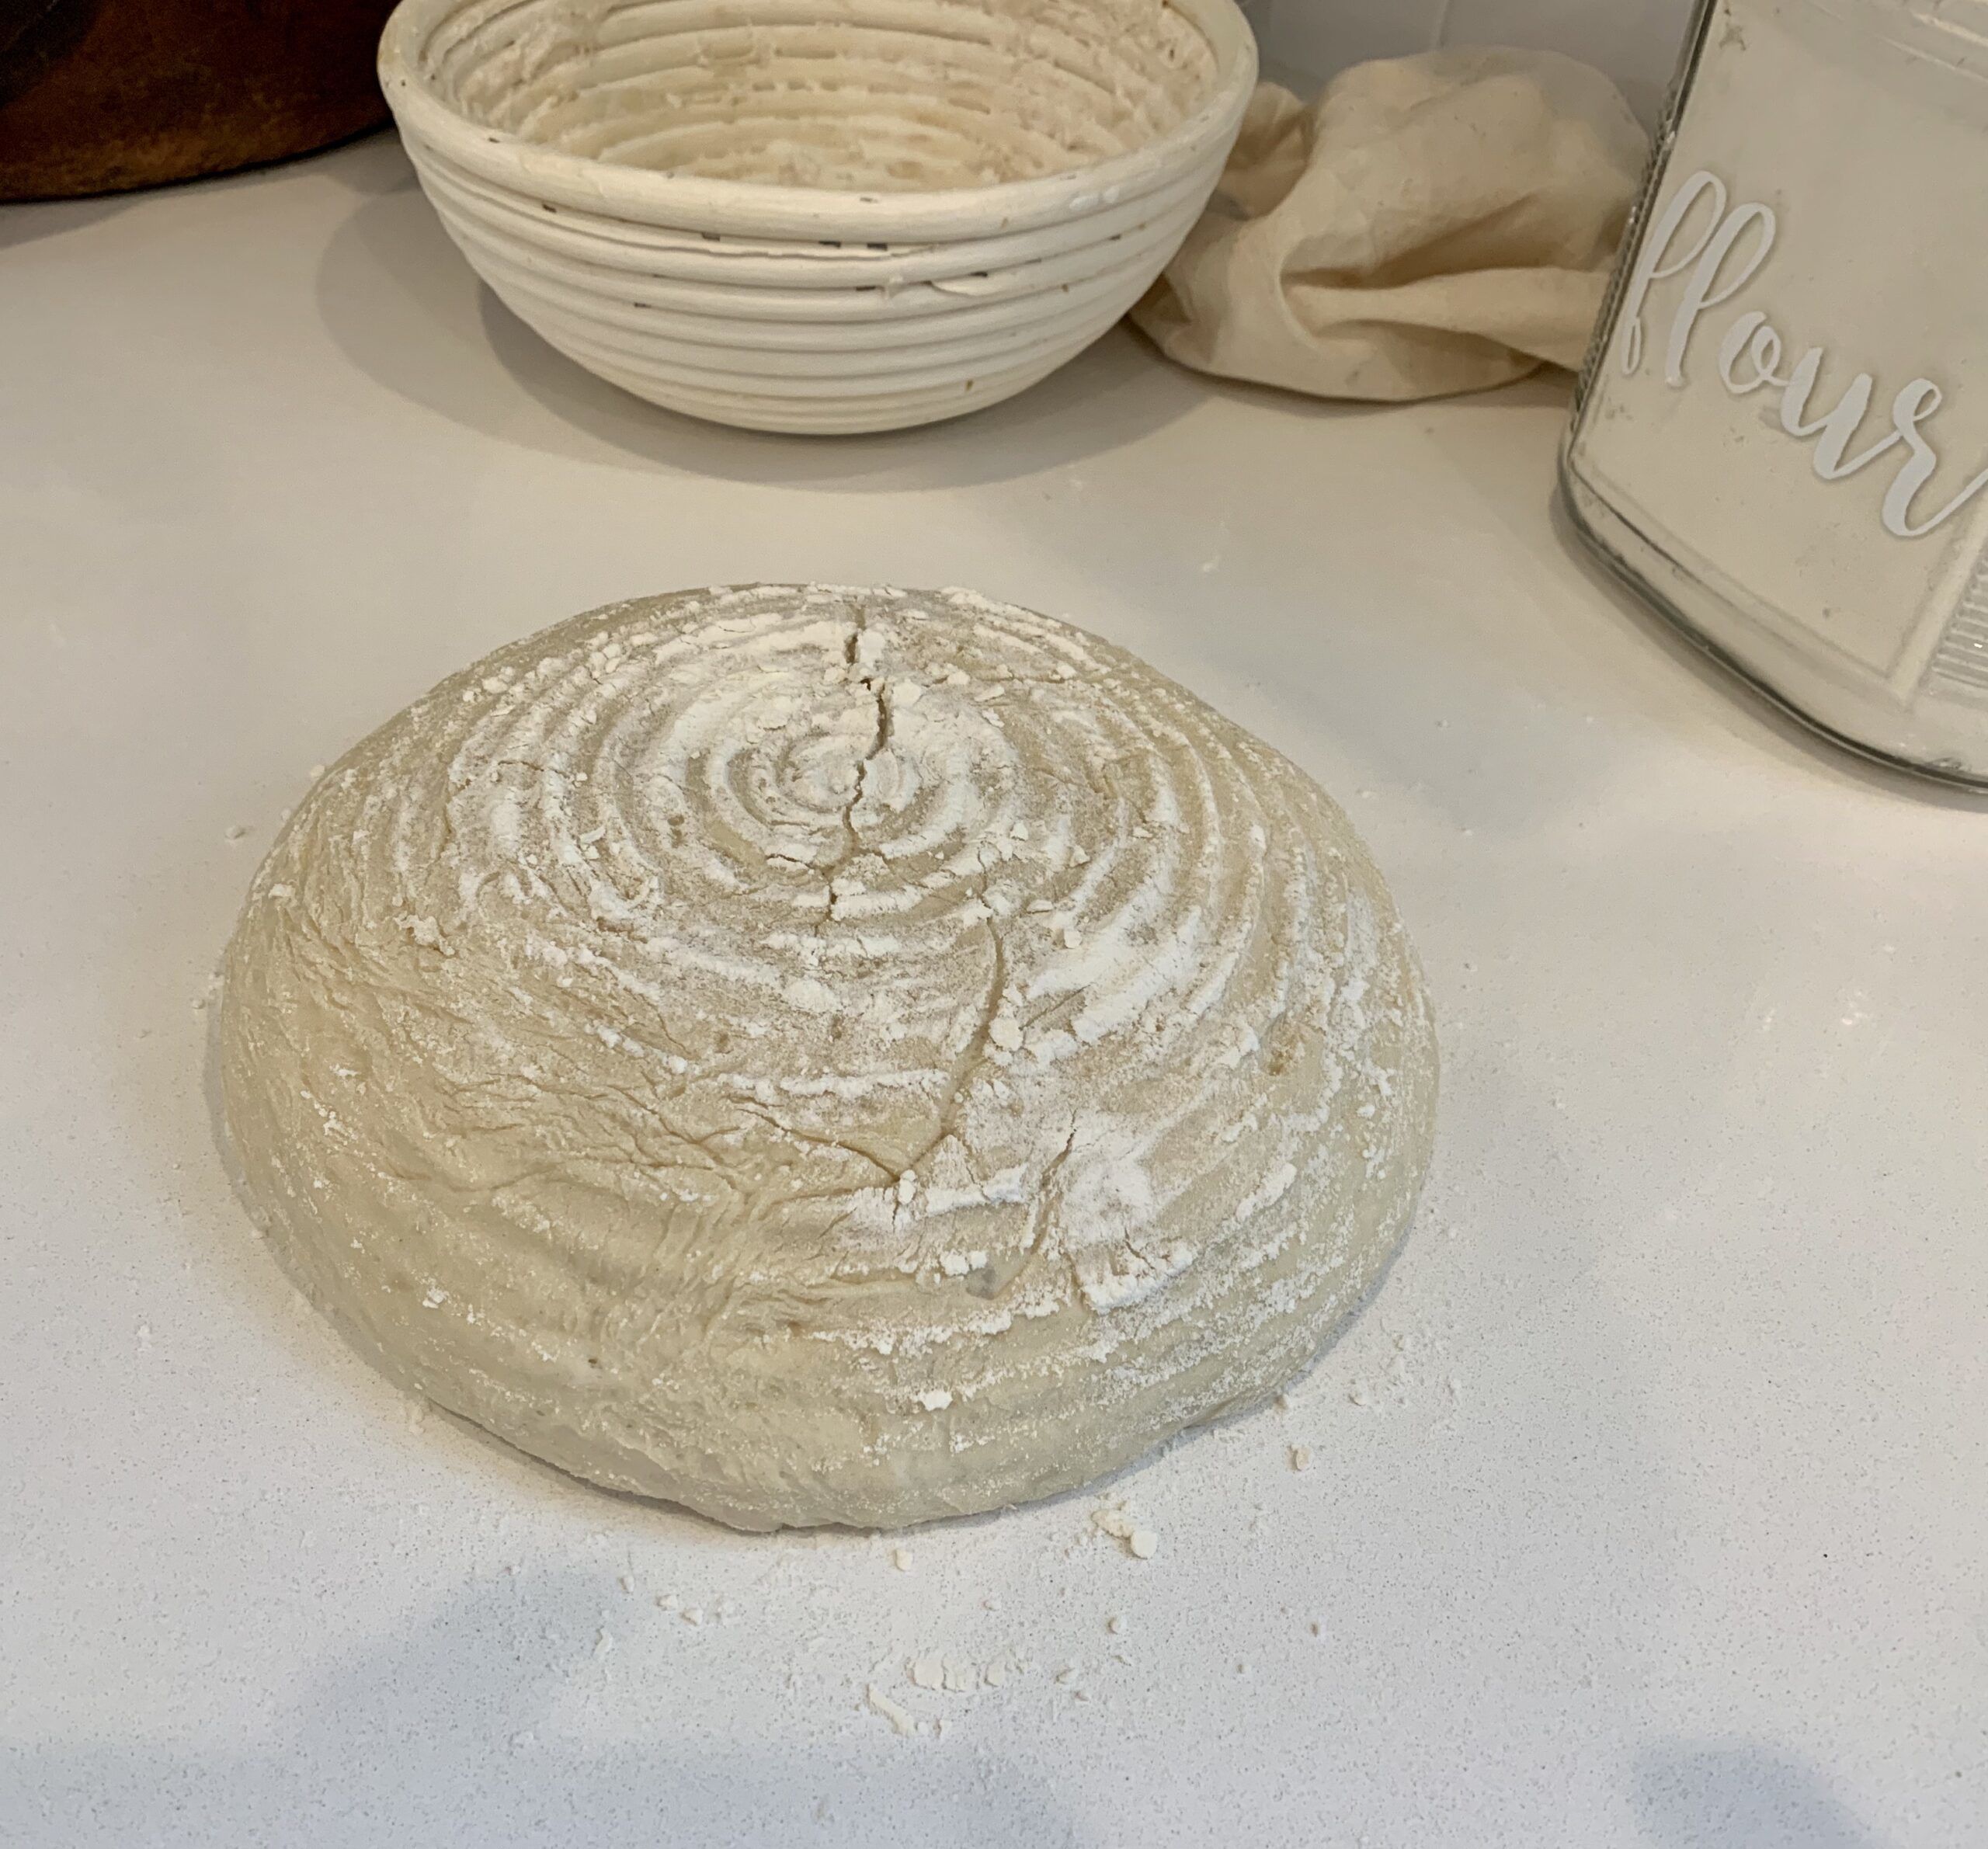
I am very partial to using a proofing bowl when making bread, your dough will rise faster and evenly.
While my kids eat meat, my husband and I do not, so I am going to experiment with some other fillings and post new recipes soon. I am thinking an olive spread or a goat cheese and sundried tomato puree.
Homemade Pepperoni Rolls
INGREDIENTS
- 2 1/4 tsp. active dry yeast
- 1/2 cup warm water
- 3 cups flour
- 3 tsp. kosher salt
- 1 1/2 cups cool water (maybe a little more or less)
- Boar's Head pepperoni
- Shredded mozzarella
- Chunk of Locatelli Parmesan
INSTRUCTIONS
Measure your yeast and warm water in a small bowl. Let the yeast bloom for at least five minutes.
Mix the flour and salt in a larger bowl. Make a little well in the middle of your dry ingredients and add your bloomed yeast. Using a wooden spoon, mix well, adding a little cool water, then mixing again, more cool water, mix again...You get it! Now the dough should look a little raggy at this point, we aren't going for that beautiful perfect dough ball you see on cooking shows, that will come later, I promise.
At this point, I simply cover the bowl with plastic wrap and set it aside for 30 minutes. Don't skip this step, you need to let the gluten relax before you move onto the next step.
After 30 minutes, flour your surface well and dump the bowl. You will need to put some flour on your hands as well. Don't be afraid to add flour, having the dough stick all over your hands is just annoying.
Push the dough down and fold in one side to the middle, then the other side. Turn the dough and repeat, continue this process for about 8 minutes. Shape your dough into a nice ball and let the proofing begin! Place it in your proofing bowl or any other clean, large bowl and cover for 1-2 hours. (If using a ceramic or glass mixing bowl, oil it with some olive oil so it doesn't stick.)
Your dough should have doubled in size after proofing.
Preheat oven to 450°
Now, this is the tricky part because you need to evenly divide the dough into thirds. I usually use a scale so I get it right, I am not a very visual person, so I can't seem to divide evenly without a scale. You are probably much better than myself at eyeing it up. After you have three balls of dough, take the first one and flatten it out into a rectangular shape that tapers at the two ends. The rectangle should be about 4 to 6 inches wide. Place your pepperoni slices in a row, I usually have about three rows across. My boys like a lot of pepperoni, so I overlap the slices. You will need about a 1/2 cup of shredded mozzarella per loaf to layer on top of the pepperoni. Use a microplane to add some parmesan as well.
Now, this part is tricky because your dough is pretty heavy at this point, so carefully roll it up and take your time sealing the dough.
Re-shape each piece carefully, creating pointy ends. Place the loaves on a floured towel and let them rest for 30 minutes.
Transfer the baguettes to your pan and slash the tops diagonally four times. Place a cast iron pan in the oven with 2 cups of water and a handful of ice cubes on the bottom rack. Then slide those baguettes in your very hot and very steamy oven on the middle rack.
My oven runs pretty hot, so I only bake my baguettes for 20 minutes tops. Yours may take up to 30 minutes, watch the bread closely. The top needs to be golden brown and when tapped will sound hollow.


In order to help that crispy texture along, you need to create some steam in the oven. I suggest using a cast iron pan for your steamy water. I have tried a copper pot, but I think cast iron is much better.
Be careful! Hot water in the oven is scary. I suggest waiting until your oven has completely cooked prior to removing the cast iron pan from the oven.
What's in my kitchen?


Thank you for visiting my blog! My name is Colleen Mallory. I dream about cooking, Sometimes, I actually think about how ingredients will mix together and then first chance I get, I try my crazy combinations.
